Table of Contents
ToggleEver found yourself in a dimly lit room, trying to capture that perfect shot on your iPhone, only to be greeted by a blurry mess? Fear not, because changing the exposure time on your iPhone can turn those photographic flops into frame-worthy masterpieces. It’s like giving your camera a magic potion that lets it drink in all the light it needs!
Understanding Exposure Time
Exposure time refers to the duration the camera sensor is exposed to light when taking a photo. Adjusting this setting can dramatically enhance image clarity, especially in low-light situations.
What Is Exposure Time?
Exposure time is the interval that light hits the camera’s sensor. This duration is measured in fractions of a second, such as 1/60 or 1/3000. A longer exposure time allows more light to enter, which is particularly useful in dark environments. Shorter times capture fast-moving subjects without blurring, ensuring a crisp photo. Understanding this balance is crucial for achieving excellent results.
Importance of Exposure Time in Photography
Exposure time plays a vital role in photography. It influences how much light reaches the sensor, impacting image brightness. A longer exposure often creates a brighter image, ideal for nighttime or dimly lit scenes. Conversely, a quicker exposure prevents motion blur in fast-action shots, maintaining detail. Optimizing exposure time is essential for capturing stunning images under varying lighting conditions. Without this adjustment, photos may appear grainy or poorly lit.
Changing Exposure Time on iPhone

Adjusting the exposure time on an iPhone can significantly enhance photo quality in low-light situations. It allows for the capture of more light, improving image clarity while minimizing blur.
Using the Native Camera App
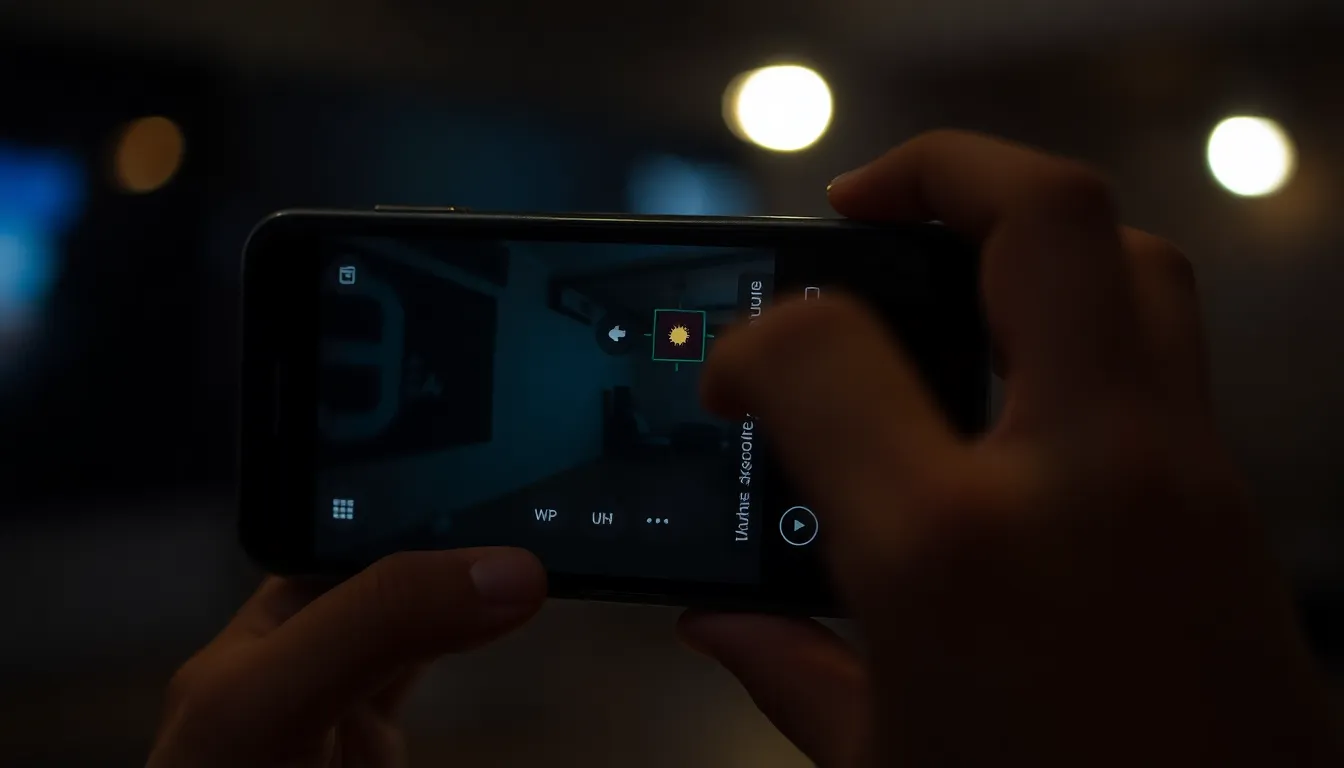
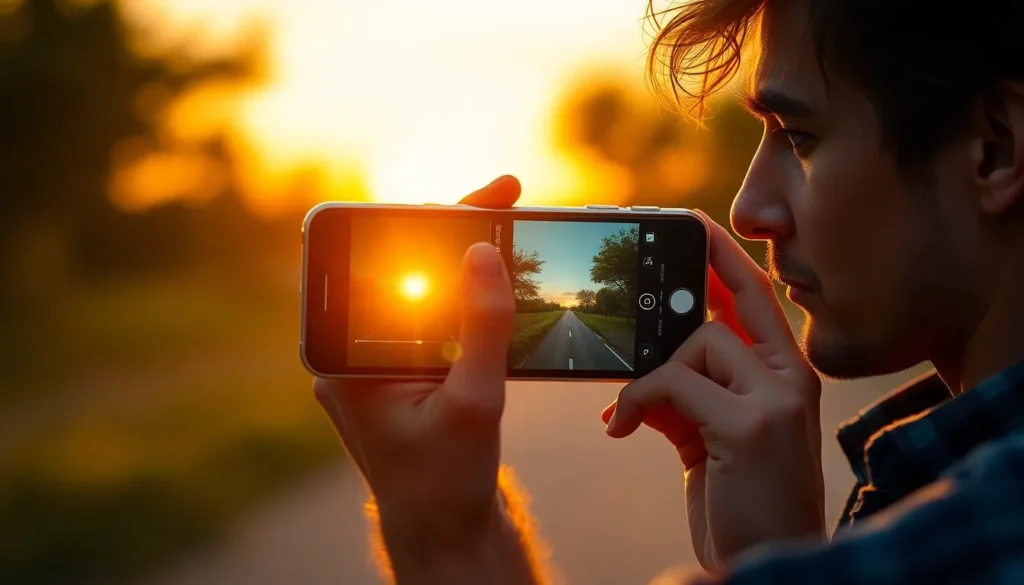
The native Camera app offers a straightforward way to adjust exposure time. Users can tap on the screen to focus on the desired subject. A sun icon appears next to the focus square; dragging it up increases exposure time, resulting in brighter images. Lowering the exposure time prevents potential motion blur, ensuring fast-action moments are captured sharply. Experimenting with different settings in various lighting conditions helps find the optimal exposure balance.
Using Third-Party Camera Apps
Third-party camera apps provide additional control over exposure time. Many of these apps, such as ProCam or Halide, feature dedicated exposure sliders. Users can set exposure manually, allowing for longer duration settings that benefit low-light photography. Custom settings in these apps enable more advanced adjustments and enhance overall creative flexibility. Depending on the app, options like ISO and shutter speed adjustments complement exposure modifications, delivering a comprehensive photography experience.
Tips for Adjusting Exposure Time
Adjusting exposure time may seem daunting at first, but it can enhance photography significantly. Following a few practices makes it easier to achieve great results.
Experimenting with Different Settings
Varying camera settings plays a crucial role in finding the best exposure time. Users should try different brightness levels by dragging the sun icon up or down while focusing on subjects. Engaging in various experiments helps in understanding how adjustments affect overall image quality. Trying out diverse lighting conditions at different times of the day captures unique photos. Adjusting exposure time during golden hours tends to yield stunning results, especially in low-light scenarios. Documenting changes aids in refining techniques for specific environments.
Understanding Lighting Conditions
Recognizing different lighting conditions influences exposure time choices. Users should consider natural light sources, such as the position of the sun or shadows present in a scene. Areas with soft, diffused light often require longer exposure times for optimal brightness. Conversely, bright environments can lead to overexposed images if settings aren’t adjusted. Challenges arise in mixed lighting situations; adjusting exposure helps balance highlights and shadows. Additionally, paying attention to artificial light sources, like lamps or streetlights, impacts the image’s overall quality. Familiarity with these conditions leads to more compelling photographs.
Common Issues and Troubleshooting
Users may encounter several issues when adjusting exposure time on their iPhones. Recognizing and addressing these problems can enhance photography outcomes.
Inconsistent Exposure Time
Inconsistent exposure time can confuse users, causing unexpected results in image brightness. Various factors contribute to this inconsistency, such as fluctuating lighting conditions and quick subject movements. Users might find that photos taken in similar settings yield different brightness levels. Observing external light sources and adjusting accordingly is vital for achieving stability. If an inconsistency arises, reviewing settings and retaking the shot often resolves the issue.
App-Specific Problems
App-specific problems can hinder the adjustment of exposure time. Third-party camera apps often come with unique settings that vary in performance. Some apps might not fully support manual exposure adjustments, leading to frustration. Users should ensure they’re using the latest version of the app to access all features. Checking the app’s settings or exploring help sections can provide guidance on adjustments. If issues persist, consider reinstalling the app or opting for another photography application known for reliability.
Mastering exposure time on an iPhone can elevate photography skills significantly. By adjusting this setting, users can capture stunning images even in challenging lighting conditions. Experimenting with both the native Camera app and third-party options opens up a world of creative possibilities.
Understanding the nuances of exposure time allows photographers to balance brightness and motion blur effectively. With practice and attention to detail, anyone can transform their photography experience and achieve impressive results. Embracing these techniques will not only enhance image quality but also foster a deeper appreciation for the art of photography.


